I have an electric garage door that can be opened either with a keyfob or by manually pressing a button on the motor unit housing. This setup works well, but if you don’t have the keyfob with you or need to open the door remotely, you’re out of luck.
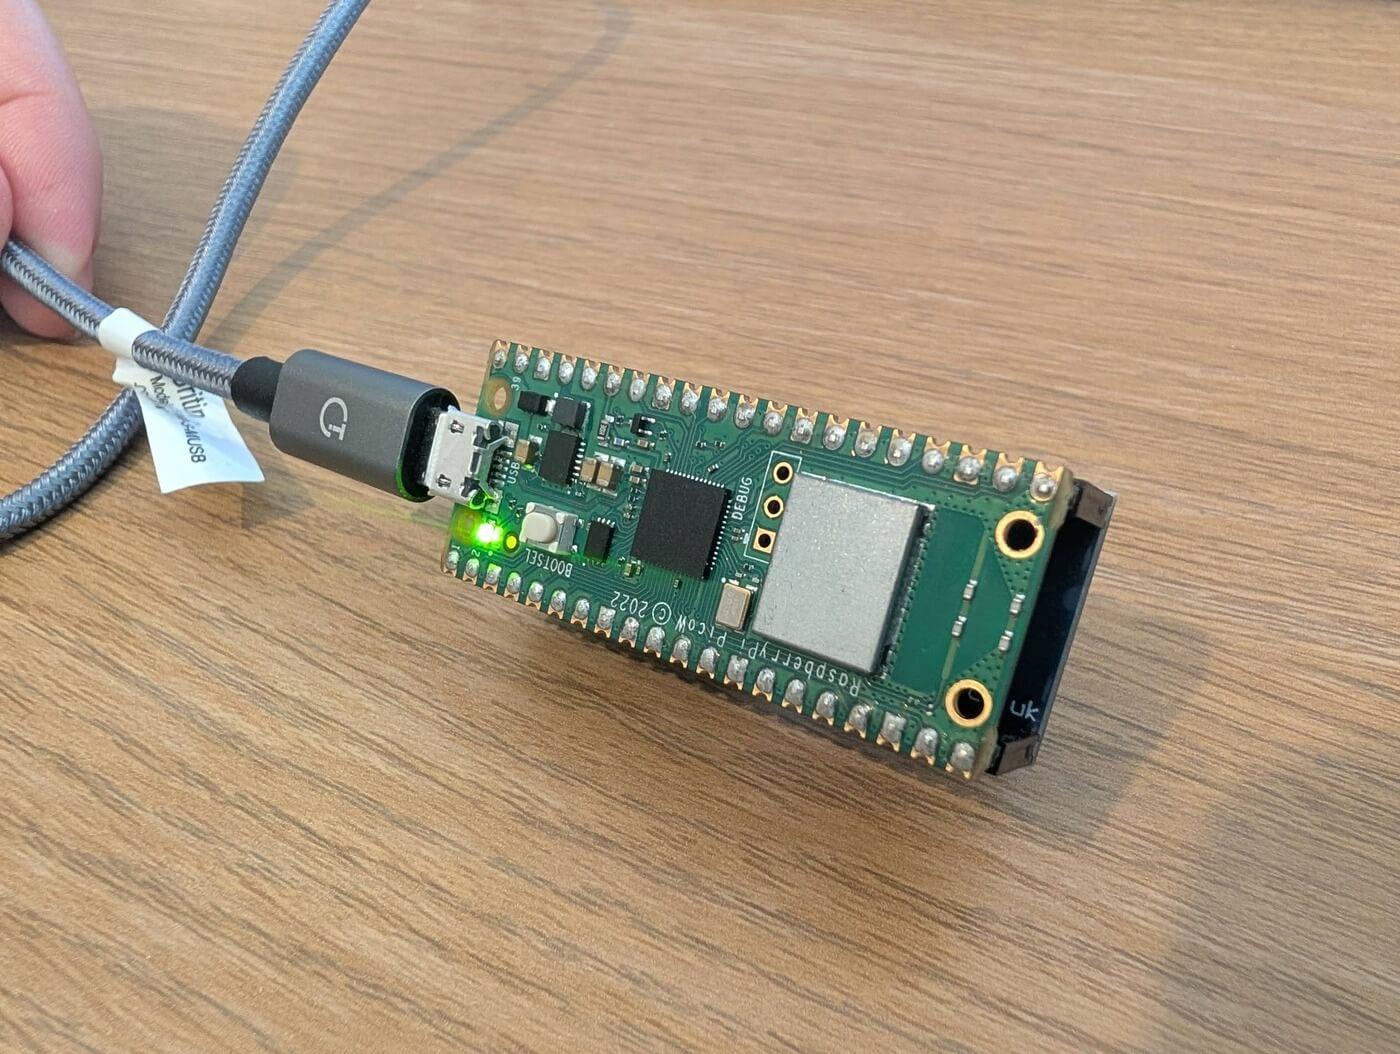
I had a spare Raspberry Pi Pico W (1st Gen) from a previous project that I upgraded with a Pico W 2. I thought I could repurpose the original Pico to power a relay connected to the garage door motor’s accessory port pins. Connecting these pins completes a circuit, signaling the motor to open or close the garage door. A relay works perfectly here, requiring only a brief 0.5-second pulse to trigger the motor.
Hardware
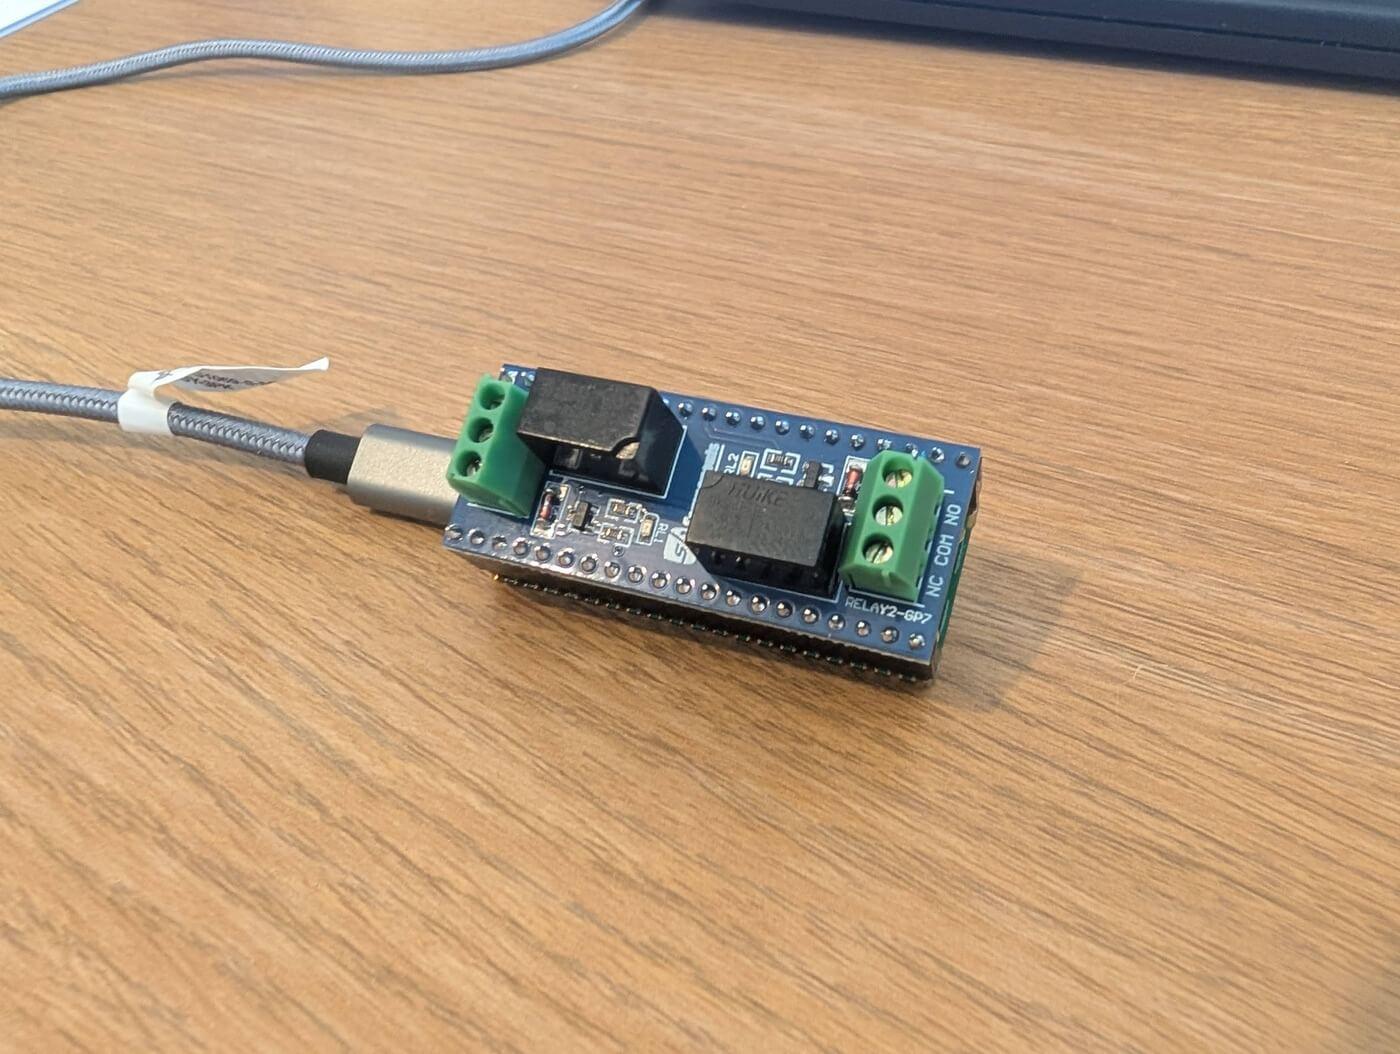
To begin, I researched pre-made relay hats. I didn’t need anything large, as the garage door motor only required a small (12V) voltage to bridge the two pins. I found the 3V Relay Hat by SB Components, which fit my needs perfectly. It includes two relays powered directly by the 3V from the Pico’s GPIO pins. Although I only needed one relay, the second can be disabled or used as a spare.
Once the hat arrived, I tested the relays using the demo code provided by SB Components: Relay Hat Test Code. Each relay clicked on and off correctly, confirming the setup was functional.
I'm using a 1st Gen Pico W for this project, but the 2nd Gen version also works. Just make sure your Pico has Wi-Fi capability.
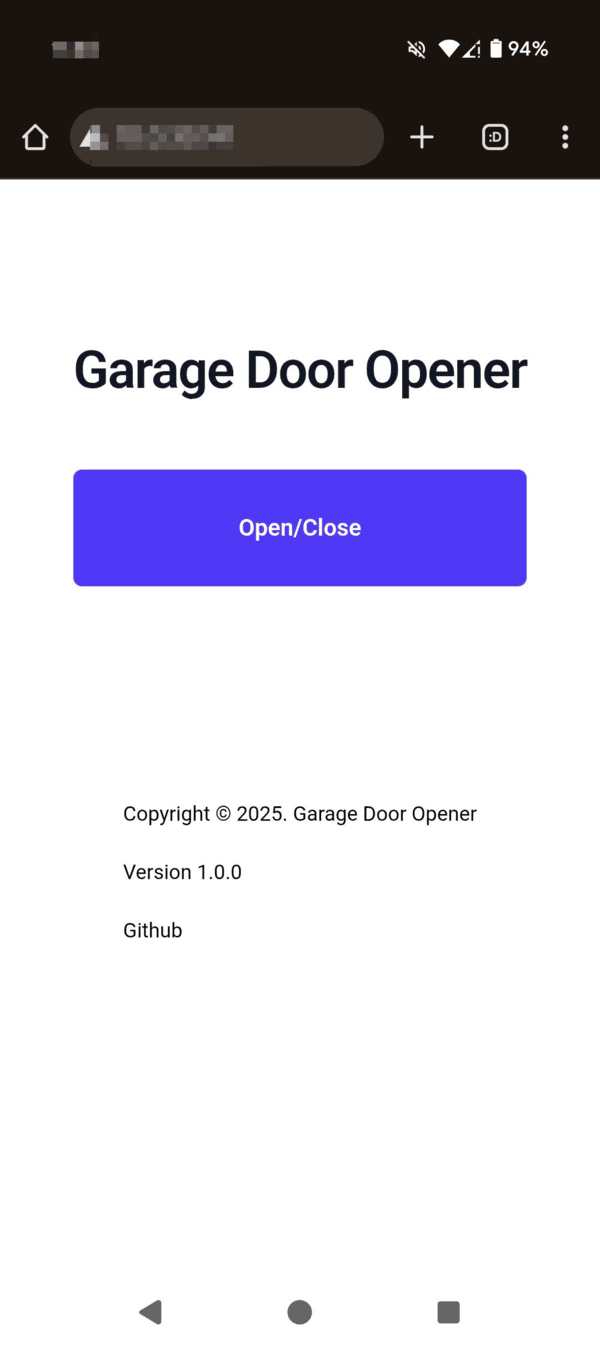
Web Server
I knew a basic web server could run on the Pico from past experience, but I came across the Phew web server by Pimoroni. With the help of a template project from Simon Prickett, I was able to host simple HTML and CSS.
This project uses MicroPython, which I'm familiar with from previous work, such as my DIY doorbell project. I'm running MicroPython version v1.25.0 (2025-04-15). You can download the firmware here:
Phew offers built-in templating, allowing for HTML segmentation (header, footer, etc.), external CSS/JS linking, and variable passing between templates.
For styling, I used Tailwind CSS v4.1, along with additional JS functionality using Add to Homescreen v3.3. Images are hosted externally or encoded in Base64—for example, I used Base64 for favicons.
To open the garage door, an Ajax request is sent to the /api/relay endpoint with a relay name and a PIN for added security. Although the server is only accessible within my home network, this helps prevent accidental button presses or unauthorized usage.
Configuration
All configuration options are defined in the config.py file:
WIFI_SSID = "YOUR WIFI NETWORK NAME"
WIFI_PASSWORD = "YOUR WIFI NETWORK PASSWORD"

PIN = 1234  # PIN for web button activation
ENABLE_RELAY_1 = True
ENABLE_RELAY_2 = True

RELAY_1_TIME_BUTTON_DISABLED = 12000  # ms delay before next click allowed
RELAY_2_TIME_BUTTON_DISABLED = 12000

RELAY_1_TIME_BETWEEN = 0.5  # seconds between on > off
RELAY_2_TIME_BETWEEN = 0.5

RELAY_1_PIN = 6  # GPIO pin
RELAY_2_PIN = 7

# UI Theme settings
SITE_TITLE = "Garage Door Opener"
SITE_RELAY_1_BTN_LABEL = "Open/Close Relay 1"
SITE_RELAY_2_BTN_LABEL = "Open/Close Relay 2"
SITE_COPYRIGHT_YEAR = "2025"
SITE_VERSION = "1.0.0"
SITE_FOOTER_LINKS = [
    {
        "text": "Github",
        "href": "https://github.com/ryanfitton/rpi-pico-garage-door-opener"
    },
    {
        "text": "About this project",
        "href": "https://ryanfitton.co.uk/blog/raspberry-pi-pico-garage-door-opener"
    }
]
Key Settings
PIN: Security pin used to authorize button presses via the web interface.ENABLE_RELAY_1andENABLE_RELAY_2: Toggle each relay’s functionality (TrueorFalse).RELAY_1_TIME_BUTTON_DISABLED/RELAY_2_TIME_BUTTON_DISABLED: Time in milliseconds the button is disabled after being pressed (prevents repeated activations).RELAY_1_TIME_BETWEEN/RELAY_2_TIME_BETWEEN: Time in seconds between turning the relay on and off.
Using This Code
Follow the installation instructions from the project README:
👉 GitHub - rpi-pico-garage-door-opener
- Install the MicroPython firmware (download it from here).
- Edit your
src/config.pyfile with your details. - Copy all project files to the Pico.
I use Thonny to upload and manage files.
Considerations
This code was written to the best of my abilities, but it may contain bugs or issues. Feel free to submit pull requests or improvements.
⚠️ Do not expose the web server to the public internet.
I run mine exclusively on a local network and use a VPN for remote access when needed.