Update: A related post regarding my network rack is available here: /blog/home-network-setup-whats-in-my-rack-2019/
When I moved into my new house, I knew that I wanted hard-wired Ethernet networking in every home. Ethernet cables provide much faster speeds than Wi-Fi and are much more secure.
I wanted the cables to future-proof my house, so I decided to go with Cat6 cables throughout. All of the cabling, wall outlets and keystone jacks were purchased from Blackbox -- I decided if I was to do this work, then I should buy quality components, I found Blackbox to have some of the best quality components I could find.
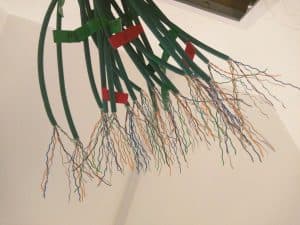
Here are some images of the cable:
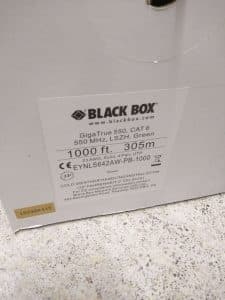
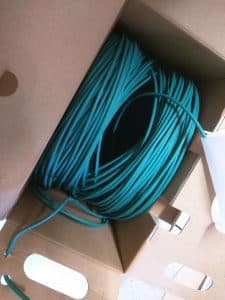
In total there are 21 runs of cable with 6 POE ports:
- Living room: 8 ports (2 ports is POE, for IP phone and exterior IP camera)
- Under stairs cupboard: 2 ports
- Kitchen: 2 ports (1 port is POE)
- Office/Study: 4 ports (1 port is POE, used for IP phone)
- Master bedroom: 2 ports
- Attic: 2 ports (Both are POE. Connections for WiFi access point and cable to run to the garage)
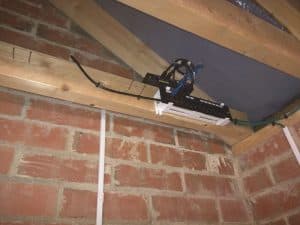
- Garage: 1 port (This port is POE and is connected to one of the ports in the attic. Within the garage, this is fed into a small patch panel and is connected to a switch and IP camera)
The installation
It was relatively easy to install the cabling, although I had to make sure everything was planned, which meant;
- Knowing the placements of each wall outlet
- Where to run each cable
- If the walls were hollow to enable the cables to be routed behind
I had to lift some floorboards on the first floor and in the attic as this was the route I planned to run the cable. Because the house is fairly new (10 years old), the floorboards used long pieces of chipboard rather than the standard panel boards we usually use in the UK.
After running the cables in place, I routed them into the understairs cupboard. I found using a 'Cable Rod' was the easiest way to pull wires through the walls.
One important thing to do is to always number each cable run at both ends, this will make testing much easier.
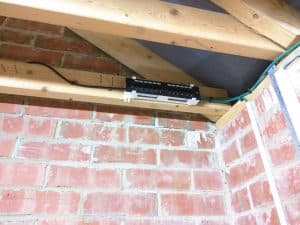
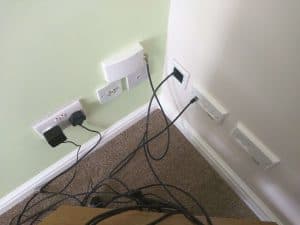
Some images of the installed wall outlets (Garage: black external CAT6 Ethernet cable into small patch panel, attic: POE Ethernet outlets, Living room: 6 Ethernet outlets, Satellite and Coaxial outlets. The Virgin Media outlet connects to a Satellite cable which goes into the understairs cupboard):

Testing the installation
Each of the wall outlets had to be tested. Luckily everything worked fine and only a couple wires on the patch panel had to be re-done. I decided to use the T-568B wiring scheme as this is the industry standard.
I recommend using a testing tool and good quality KRONE punch-down tool to ensure you don't have any issues.
What is in the rack?
I purchased a new short depth 6U rack cabinet. It wasn't already pre-built so I spent some time building it and marked out where I wanted my equipment.
From top to bottom there is:
- Surge protected PDU
- Bristle plate, this is where the cables come in from the understairs patch panel
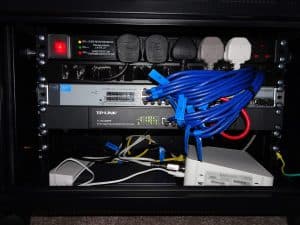
- HP ProCurve 24 Port Gigabit Switch (1800-24G J9028B)
- TP-Link 8 port Gigabit POE switch (TL-SG1008PE)
- Other non-rack devices:
- TP-Link wired Gigabit VPN router (TL-R600VPN)
- Virgin Media Super Hub 3.0
As you can see from the photos below, the patch panel which terminates all of the wall outlet cables is not included in the rack -- Instead I mounted the patch panel using a Startech 1U wall mount bracket installed into the access panel I fitted. All of the wires terminate here and then fed into the rack using additional CAT6 patch cables.
Installing the cabling, patch panel and additional patch cables:
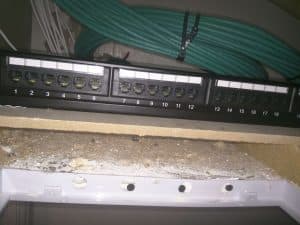
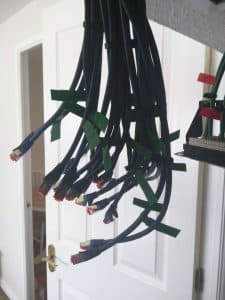
Building the server and finishing the installation:
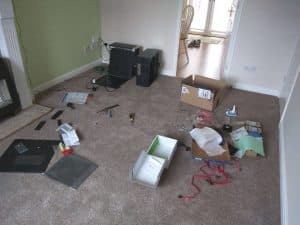
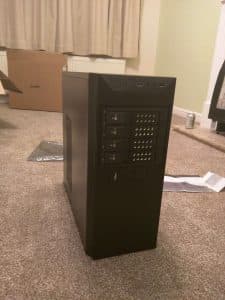
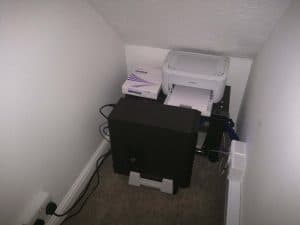
Some more detailed images of the server rack, and POE powered switch in garage (NETGEAR GS105PE-10000S):
Final notes
The results of this work has been shown in an increase of transfer speeds. I can now also take and receive calls in two rooms and the garage and transfer data quickly between streaming boxes, computers and the server.
The work has been tough to integrate the cables into a newly built home like mine, but if you have the opportunity to run cables in new build home then you should do so!
Follow-up posts
Since this post was published, I have made a couple of updates:
Links to purchase the products and tools I have used
If you're interested in purchasing the same products and tools I have used, help me out by purchasing one from Amazon UK with my affiliate codes:
- CABLE ACCESS KIT 3.3M electricians wiring rods hook etc by Blue Spot Tools
- Draper 40417 Punch-Down Tool
- Dynamode 6-Way Horizontal 13A Switched 19-Inch Power Distribution Unit with Surge Protection
- TP-Link TL-SG1008PE 8-Port Gigabit PoE+ Ethernet Switch
- TP-LINK TL-R600VPN SafeStream Business Gigabit Broadband VPN Cable Router
- StarTech.com (RK119WALLV) 1U Wall Mount Patch Panel Bracket
- 10m -- blue -- 10 pieces -- CAT6 CAT 6 Ethernet -- Lan Network Cable